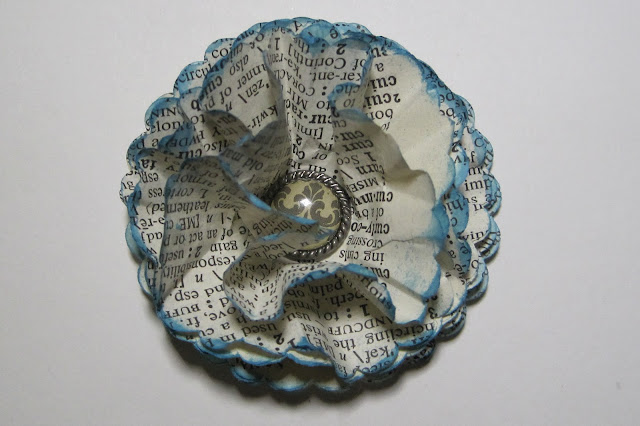
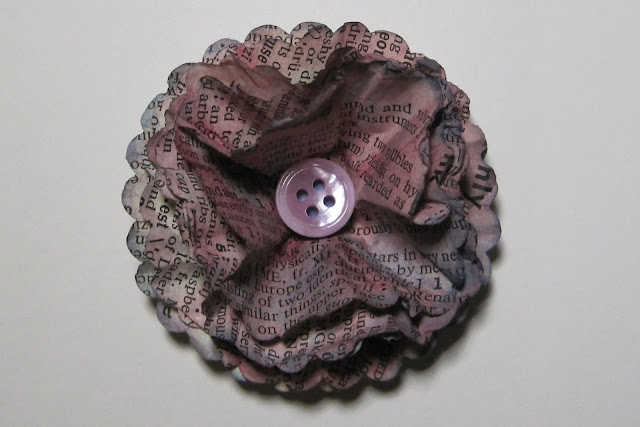
I received my new scallop punch in the mail Friday, and went to town making vintage dictionary flowers! They are so pretty...and I gave the prettiest one's away...here is what I have left, and I plan on making more, with vintage findings, buttons, tags, lace, and paper to complete unique one of a kind vintage scrapbook kits! For now, I will just tell you all how to make your own. Enjoy!
Materials:
Jumbo Size Scallop Circle Punch
Tag Board (I used junk mail)
Vintage Dictionary (mine is from 1960)
Brads
Magic Markers, Distress Ink, or Liquid Watercolors
Glitter Glue
Directions:
- First cut two scallop circles out of tag board, card stock, or junk mail postcard.
- Fold one in half, and then into quarters. Unfold, find the middle of the X and punch a very small hole there.
- Put unfolded circle on top of folded one and punch a hole using the folded circle as a template and punch the hole in the same place.
- Discard folded circle and keep the second punched circle as a template.
- Tear out 6-8 dictionary pages together, and punch. Some of mine are inked on the edges, some colored with marker before assembly, and some are sprayed from a mister with liquid watercolor. In addition they are cute plain or even punched from gift wrap, or patterned paper.
- Cut your circles out all together, if using marker you will have to color each one and re-stack...the other techniques can be done once the flowers are assembled.
- Place template over stack of scalloped circles and punch a tiny hole in all 6-8 pieces at once.
- Attach pieces in with brad and scrunch each layer up around the brad.
- Lightly loosen and shape pulling each layer gently downward.
- Finish with glitter if desired.
Here they all are!
This was sprayed and saturated with blue liquid water color, a white brad was used, and red Martha Stewart glitter glue was lightly dabbed upon it.
I used Tim Holtz (peeled paint) distress dabber on this one, inking the edge while and spinning the flower.
This one is plain...no ink.
I cut these circles from fancy envelopes that had lady bugs on them.
Another Tim Holtz ink and fancy brad.
This one looks a bit over done. I used 2 colors of ink and heat dried it, and then glued a button over the brad. My cats stole it, bat it around the kitchen for a while and I think it is now under my fridge...and headed for the garbage.


No comments:
Post a Comment